How to Fit Your
Steering Wheel Cover
A complete step-by-step guide to fitting your Velox Stitched DIY kit. Average fitting time is 90–120 minutes. No prior experience needed.
Unbox Your Kit
2 minInside your Velox Stitched kit you'll find your pre-cut cover panel, a heavy-duty curved needle, waxed thread (your chosen colour), and a pair of grip gloves. Lay everything out on a clean surface before you begin.
Pro Tips
Check thread colour matches your order confirmation
Keep the needle in its sleeve until needed
Work in good lighting — a desk lamp helps
Remove Your Steering Wheel
10–20 minBefore fitting the cover, remove the steering wheel from your car. This gives you full 360° access to stitch cleanly. Most wheels use a central bolt (typically 24mm or 27mm). Disconnect the airbag connector before removing — always consult your car's manual for this step.
⚠ Safety Note
Airbag safety: Always disconnect your battery and wait at least 10 minutes before touching airbag wiring. If unsure, visit a qualified technician.
Pro Tips
Disconnect the battery and wait 10 minutes before touching airbag connectors
Mark the wheel's centre position before removing to ensure correct realignment
A torque wrench is recommended for re-installation (typically 30–45 Nm)

Position the Cover
5 minStretch the cover over the wheel rim, starting at the top (12 o'clock). Work it around evenly, pulling it snug. The cover should sit taut with the seam ridge facing inward. Use the grip gloves to pull it tight — a firm fit before stitching makes all the difference.
Pro Tips
Start at 12 o'clock and work in opposite directions simultaneously
The cover will feel tight — that's correct
Ensure the centre seam line runs perfectly along the inside of the rim

Start Stitching
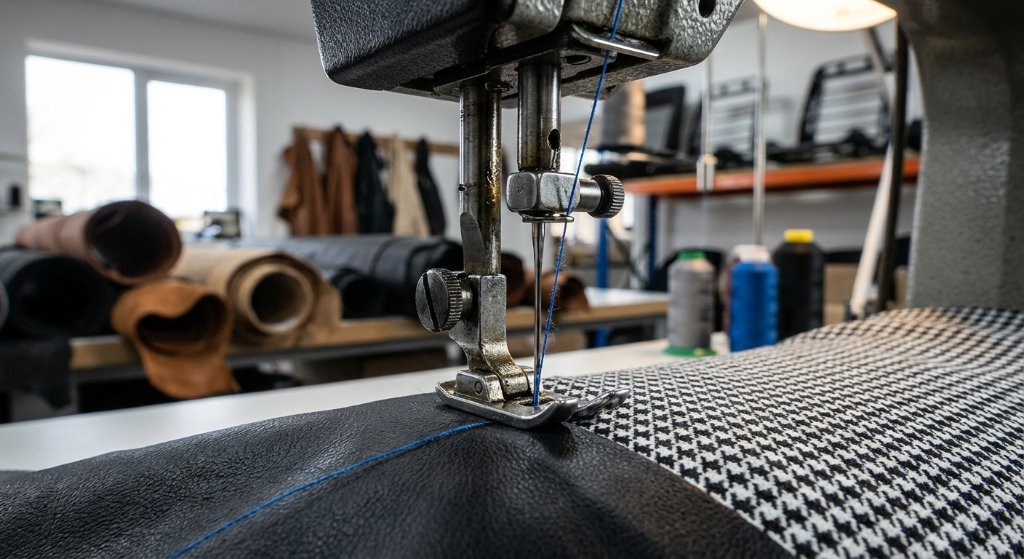
60–90 minThread the needle with approximately 80cm of thread and tie a secure double-knot at one end. Begin at the top and use the classic cross-stitch (baseball stitch) pattern, pulling each stitch firm but not so tight it puckers the leather. Work around the wheel in sections.
Pro Tips
Keep stitch tension consistent — not too loose, not too tight
Every 10 stitches, give the thread a firm pull to tighten the section
Use the pre-punched holes in the cover as your guide — they're evenly spaced

Finish & Secure
10 minOnce you've stitched all the way around, tie off the thread with three secure knots and trim the excess close to the knot. Run your fingers along the full seam to check tension consistency. Tuck any loose edges under the cover lip for a clean finish.
Pro Tips
A dab of clear super-glue on the final knot prevents it coming undone
Wipe the cover with a damp microfibre cloth to remove any fingerprints
Allow the cover to settle for 30 minutes before re-installing the wheel

Re-install & Enjoy
10–15 minRefit the wheel in the correct orientation, reconnect the airbag, reattach the battery, and torque the centre bolt to your car's specification. Start the engine and confirm there are no warning lights. You're done — enjoy your transformed interior.
Pro Tips
Reconnect airbag before connecting the battery
Wait for the airbag warning light to clear after start-up (normal)
If the airbag light stays on, consult a technician before driving

Cookie & Privacy Notice
We use essential cookies to keep the site running and optional analytics cookies (Google Analytics) to understand how you use our site. We do not use advertising tracking cookies. Read our Privacy Policy